Pop goes the fuse
I’ve been doing some more work on the Fairlight and trying to figure out what is causing the fuse to keep blowing. This time I’ve been hunting for the power supply, and it’s an interesting hunt.
First step is to remove the back panel, which I’ve done before, lets reveal part of the power supply, the part with all the heat sinks and big power transistors used for the linear power supply.
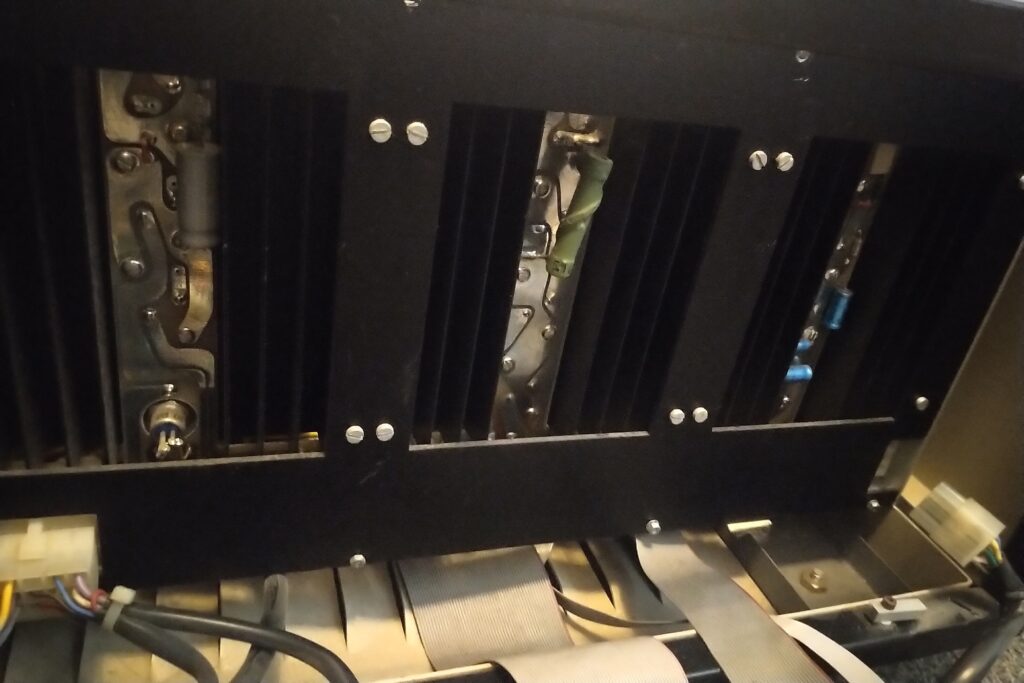
And yup, they are big, keep in mind this thing has a LOT of power, 24V at 5A, 12V at 2A, -12V at 2A and not forgetting the 5V at 16A, yes 16amps! That is a lot of power and that has to go somewhere.
Just to prove I wasn’t diving in too deep, I disconnected the mains transformer, which leaves just the voltage selector and mains filter in line (along with the fuse) and sure enough, the fuse stay solid.
ok, so time to open her up a little. Next we remove the top cover
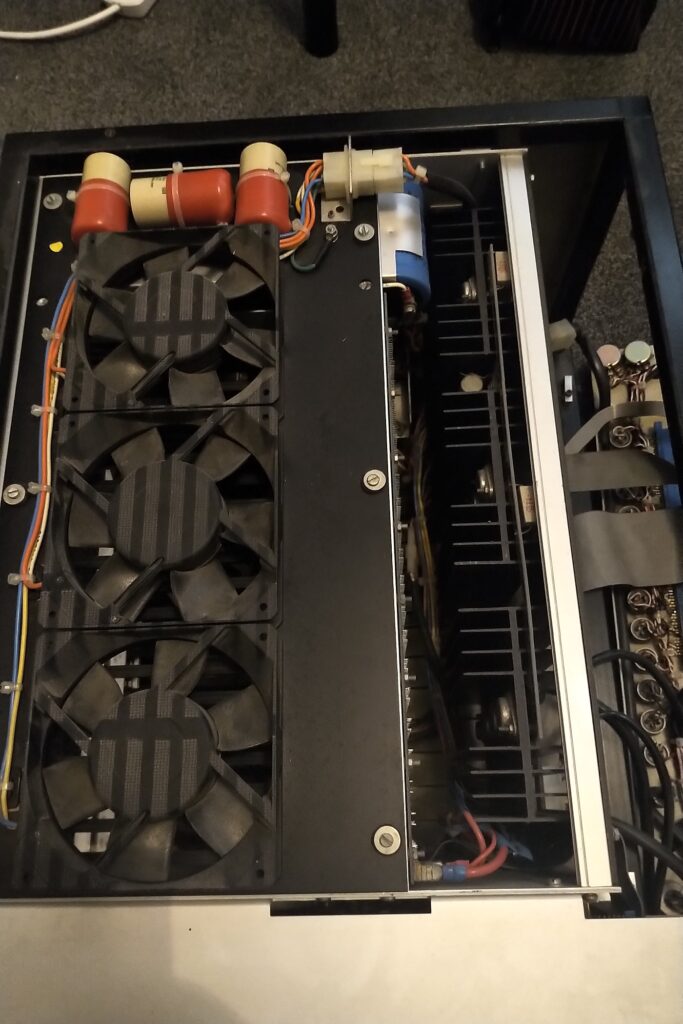
This reveals 3 big fans and not a lot else, but it does give us a view of the heat sinks where you can see some of the big power transistors. next up, the under side.
This is where things got interesting, as I was working on her I noticed something rattling inside, when I removed the bottom cover, I found two screws.
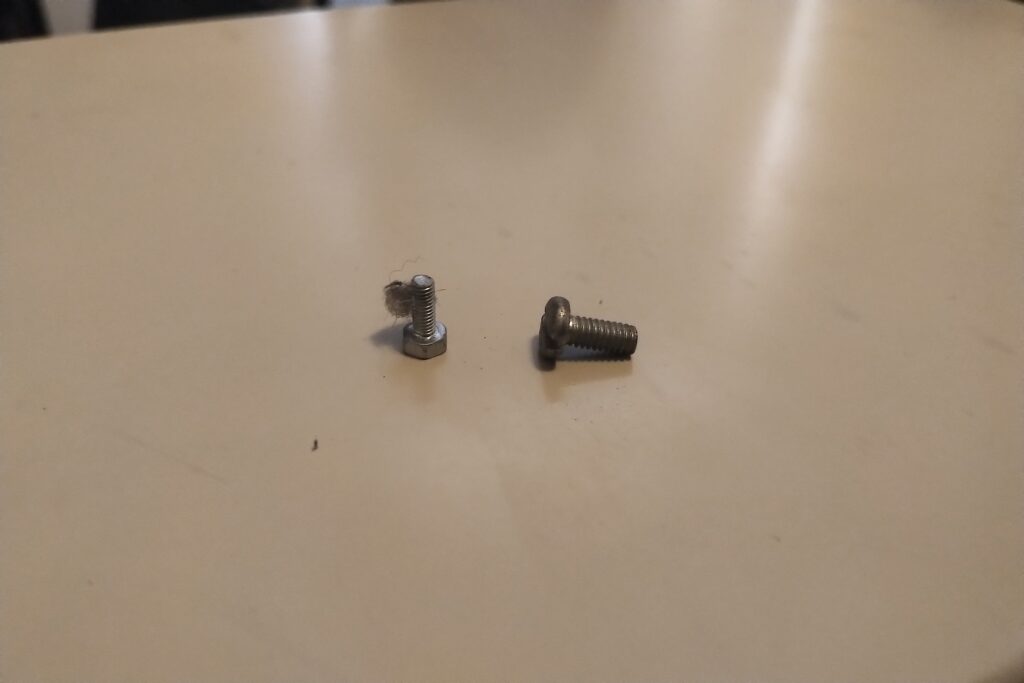
One of them is a drive screw, but is missing it’s locking washer (I wonder where that is???) and the other screw I have no idea where it has come from.
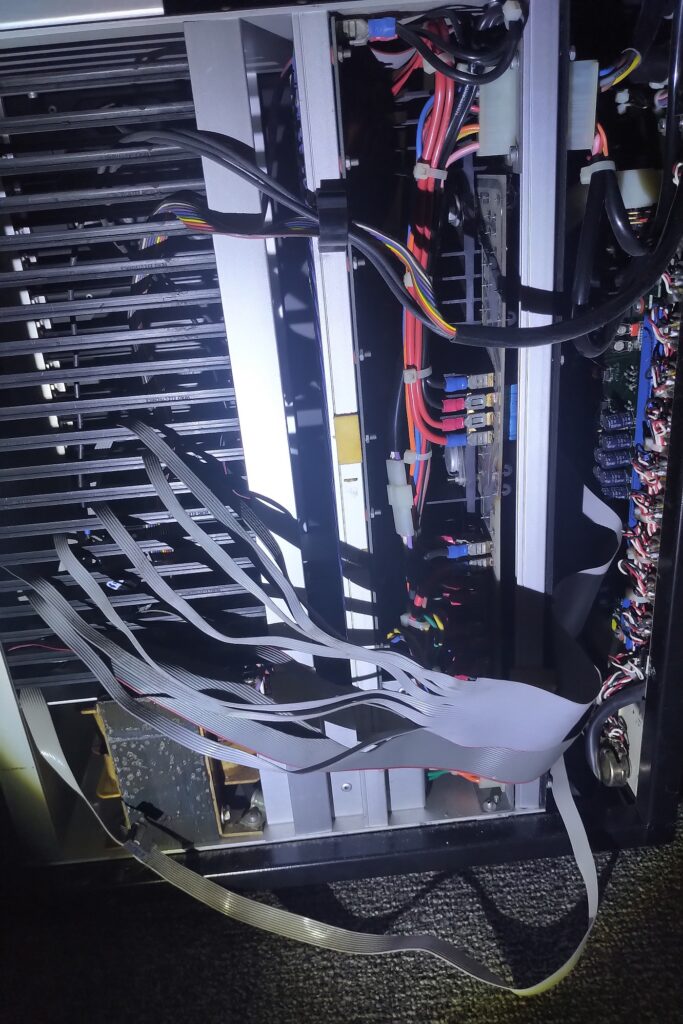
Anyway, once inside the bottom we can see a lot of wires. Looks like everything is connected via spade clips and this is where I started to hit a problem.
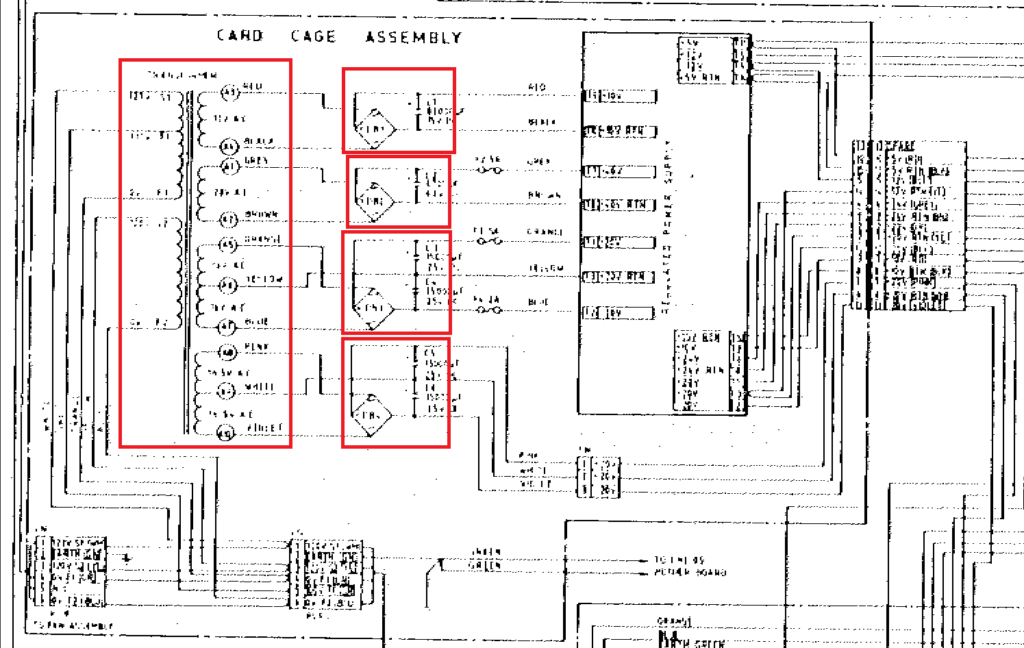
Looking at the service guide I have there’s a problem. It’s an old scan and sadly at a low resolution, this means that the part I’m interested in, the wiring, is unreadable. This is a zoomed in part of the wiring I’m interested in.
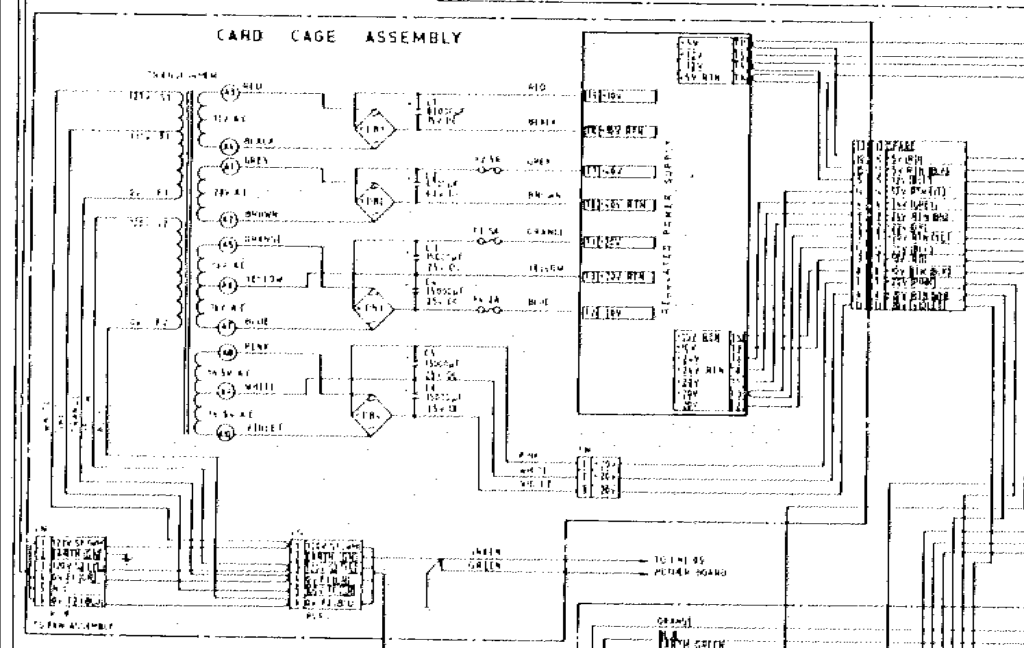
Sadly the wire colours and terminal connections are unreadable.
So the next thing I did was remove the three fuses shown, these are accessible via the front, these are for the 24V, +12V and -12V power lines.
Powering up and, yup the fuse blew again. So the next thing I did was to disconnect what I believe are the two wires in from the power supply for the 5V (that big beefy 16A 5V).
New fuse, power up… and yup, the fuse blew again.
Now without that wiring diagram above I can’t be sure it was the correct wires.
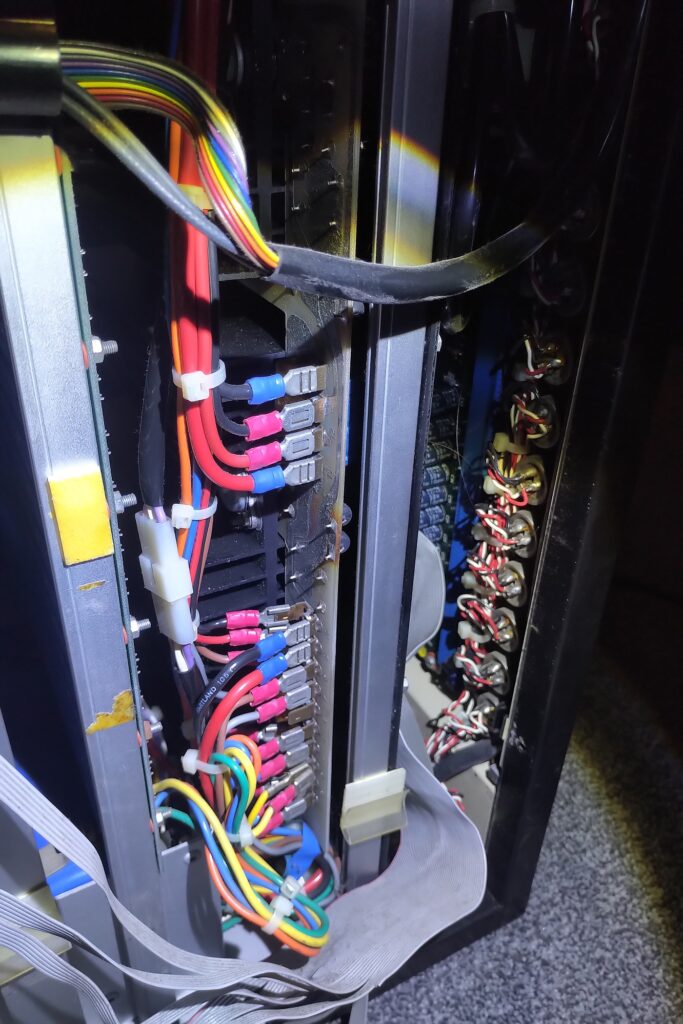
As you can see, a lot are the same colour and they are two rows deep in places. However I have at least proved that some of the power supply is not the cause, i.e. the 24V, +12V and -12V regulators are not at fault. Equally the power going to the output board on the back panel (as it was disconnected during this time).
So I have the following areas which I suspect;
- The 4 bridge rectifiers and smoothing capacitors, these are burried in the bottom of the case and I would have to strip pretty much the whole frame apart to reach these, so I really hope it’s not those.
- The mains transformer, not only would this been a paid to replace, again needing to strip the majority of the main frame out to reach it, but I suspect finding a replacement is going to be extremely difficult.
- Finally the 5V supply, the schematic shows a fuse (nice big 20A fuse) but I haven’t yet found it. I suspect it may soldered onto the board with the 5V regulators.
I don’t think it’s anything after the power supply as I have removed all the cards, disconnected floppy drives and the audio board on the rear, I can’t see anything else to disconnect.
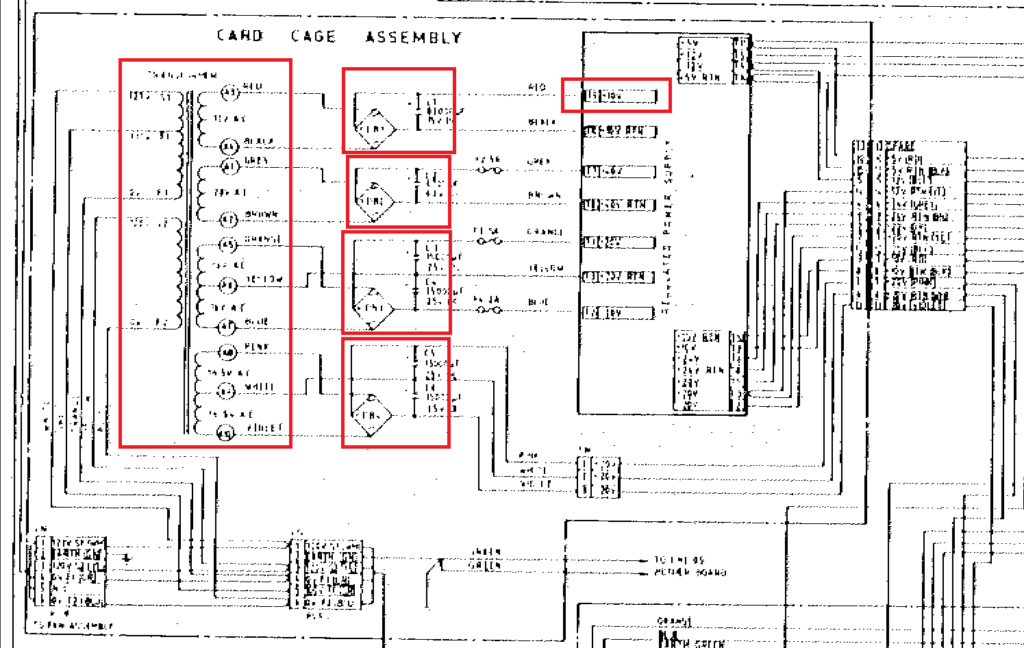
If I can get the colours of the wires, then I can at least put my meter across the secondaries and check if I’m getting voltage out or each, that would be a good start!.
I’ve posted around a few places and I’m hoping someone has a good quality/hi-res scan of the main frame wiring page. If not, then I’ll have to remove the transformer and rectifiers to check and that is going to be a whole world of pain.
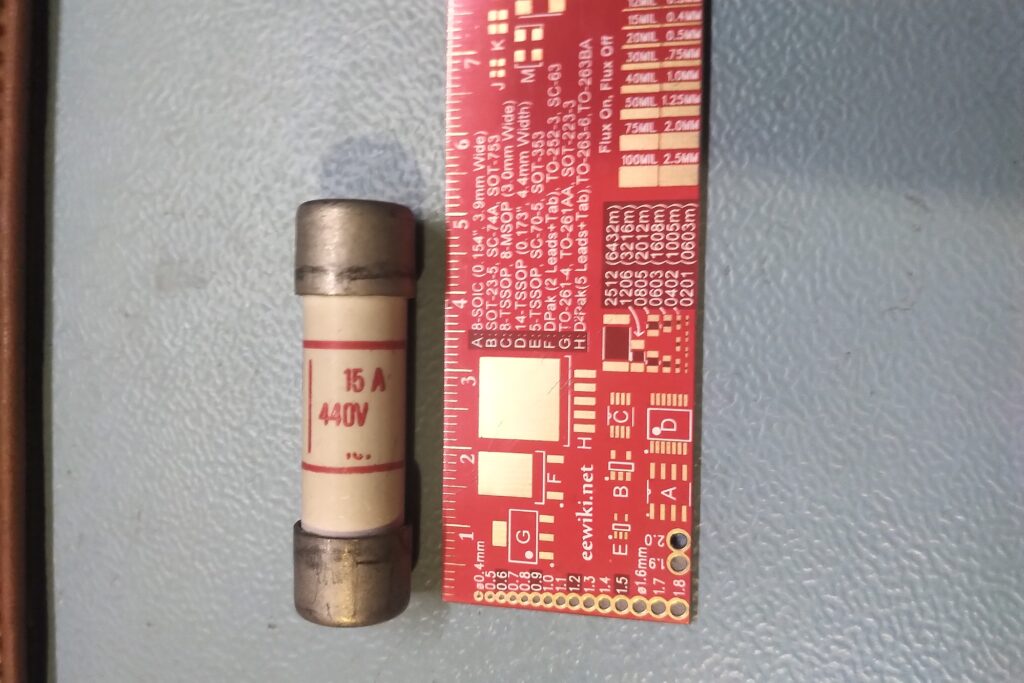
I just found the fuse on the inlet to the 5V regulator, not sure how I missed it as it’s massive (50mm long) and rated at 15A. It is of course still intact.
So a quick final test and without the fuse we’re still blowing mains fuses, sadly this leads me conclude its down to one of 3 things;
- Dead mains transformer
- Dead Rectifier
- Dead smoothing capacitor
None of these are going to be easy to fix, but finding a transformer, if it is that, is going to be the hardest of the parts to replace. The next step will be to remove the power supply from the case. which I’m really not looking forward to.